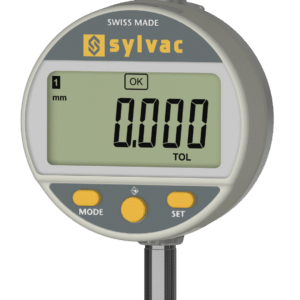
 Digital indicator S_Dial WORK Advanced
CHF 395.00


| 805-5201 | 805-5301 | 805-5401 | 805-5501 | 805-5601 | 805-5621 | |
| EAN | 7640125697483 | 7640125716368 | 7640125697513 | 7640125716344 | 7640125697544 | 7640125697551 |
| Measuring range (mm) | 12.5 | 25 | 50 | |||
| Resolution (mm) | 0.01 | 0.001 | 0.01 | 0.001 | 0.01 | 0.001 |
| Max. error fe (µm) | 10 ² | 3 | 10 ² | 4 | 20 ² | 5 |
| Repeatability (µm) | 2 | |||||
| Protection rating according to IEC 60529 | IP54 | |||||
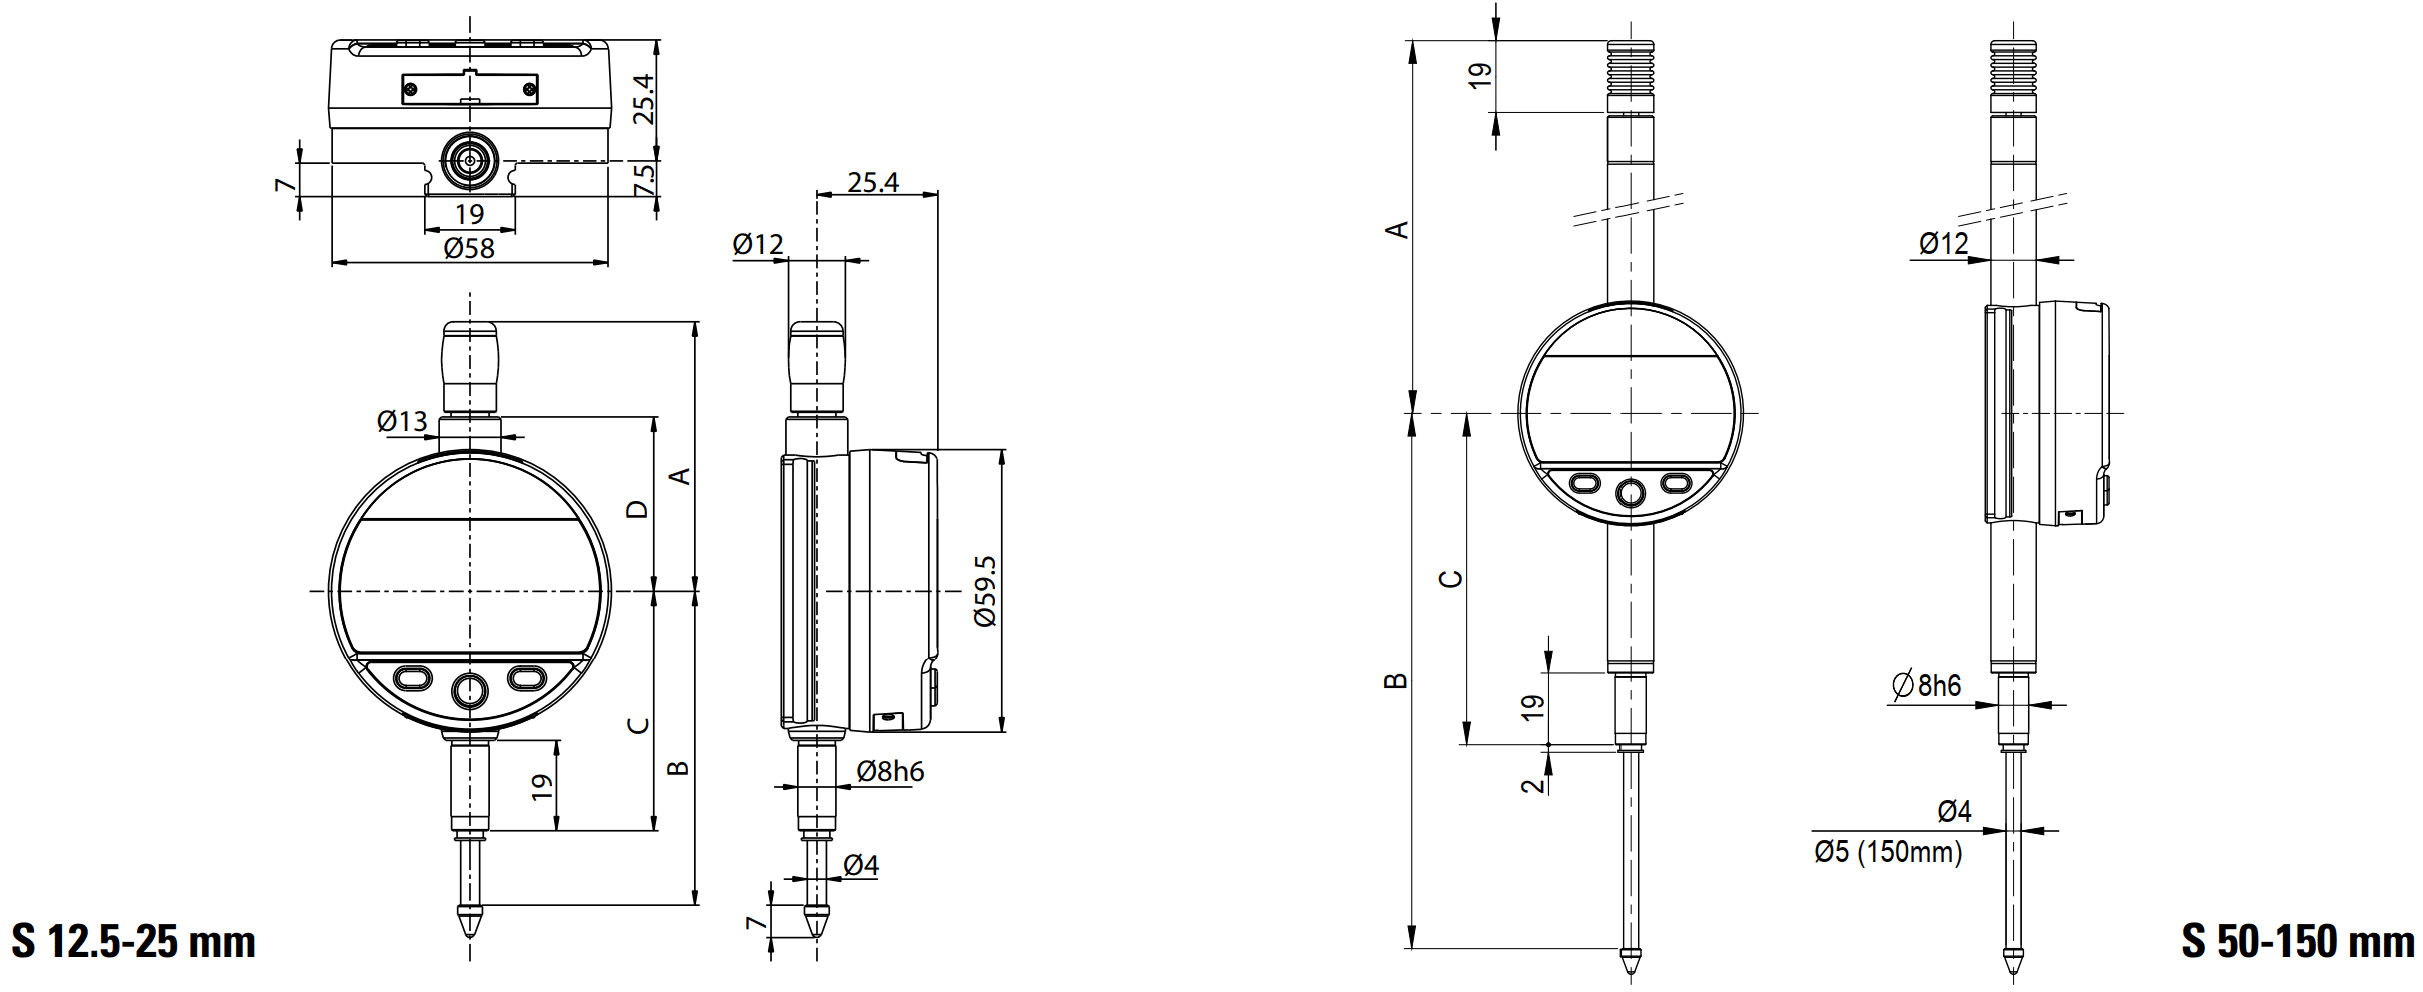
| A (mm) | 56.7 | 69.4 | 121 | |||
| B (mm) | 66.1 | 78.5 | 142 | |||
| C (mm) | 50.5 | 50.5 | 88 | |||
| D (mm) | 36.6 | 49.4 | – | |||
| Connection type (instrument to device) | Power to RS232 ¹ Power to USB ¹ Proximity to RS232 ¹ Proximity to USB ¹ Adaptator RS – USB ¹ View cables info |
|||||
| Programmable by PC | ⬤ | |||||
| Standard functions (customized by PC) |
mm/inch, ref I/II, preset (max 999.999) min/max/delta, tolerances, resolution, direction of measurement, multiplication factor, automatic or manual switch off, key lock |
|||||
| 805-5641 | 805-5661 | 805-5671 | 805-5681 | |
| EAN | 7640125697575 | 7640125697582 | 7640125697599 | 7640125697605 |
| Measuring range (mm) | 100 | 150 | ||
| Resolution (mm) | 0.01 | 0.001 | 0.01 | 0.001 |
| Max. error fe (µm) | 20 ² | 6 | 20 ² | 10 |
| Repeatability (µm) | 2 | |||
| Protection rating according to IEC 60529 | IP54 | |||
| A (mm) | 172 | 224 | ||
| B (mm) | 244 | 349 | ||
| C (mm) | 139 | 193 | ||
| D (mm) | – | – | ||
| Connection type (instrument to device) | Power to RS232 ¹ Power to USB ¹ Proximity to RS232 ¹ Proximity to USB ¹ Adaptator RS – USB ¹ View cables info |
|||
| Programmable by PC | ⬤ | |||
| Standard functions (customized by PC) |
mm/inch, ref I/II, preset (max 999.999) min/max/delta, tolerances, resolution, direction of measurement, multiplication factor, automatic or manual switch off, key lock |
|||
¹ Device: PC, display unit, …
² ± 1 digit
| Measuring force | 12.5 | 25 | 50 | 100 | 150 |
| Standard (N) | 0.65 – 0.9 | 0.65 – 1.15 | 1.1 – 2.6 | 1.8 – 3.8 | 2.6 – 5.7 |
| Low (N) | 0.4 – 0.55 ³ | 0.45 – 0.9 ³ | – | – | – |
| High (N) | 1.0 – 1.6 ³ | 0.9 – 1.8 ³ | – | – | – |
Tolerance ± 20%, spindle in outgoing measurement position.
³ on request
|
Standard Delivery
|
| Instrument according to technical specifications |
| Lithium battery CR2032 included |
| Instruction manual |
| Calibration certificate for instruments 0.001 mm |
Available soon
How To Take Care of your instrument : Battery Change
 Digital indicator S_Dial WORK Advanced
Experts in metrology for over 50 years

Please wait while you are redirected to the right page...