Menu
Close
Optical measurement SYLVAC-SCAN S25
Description
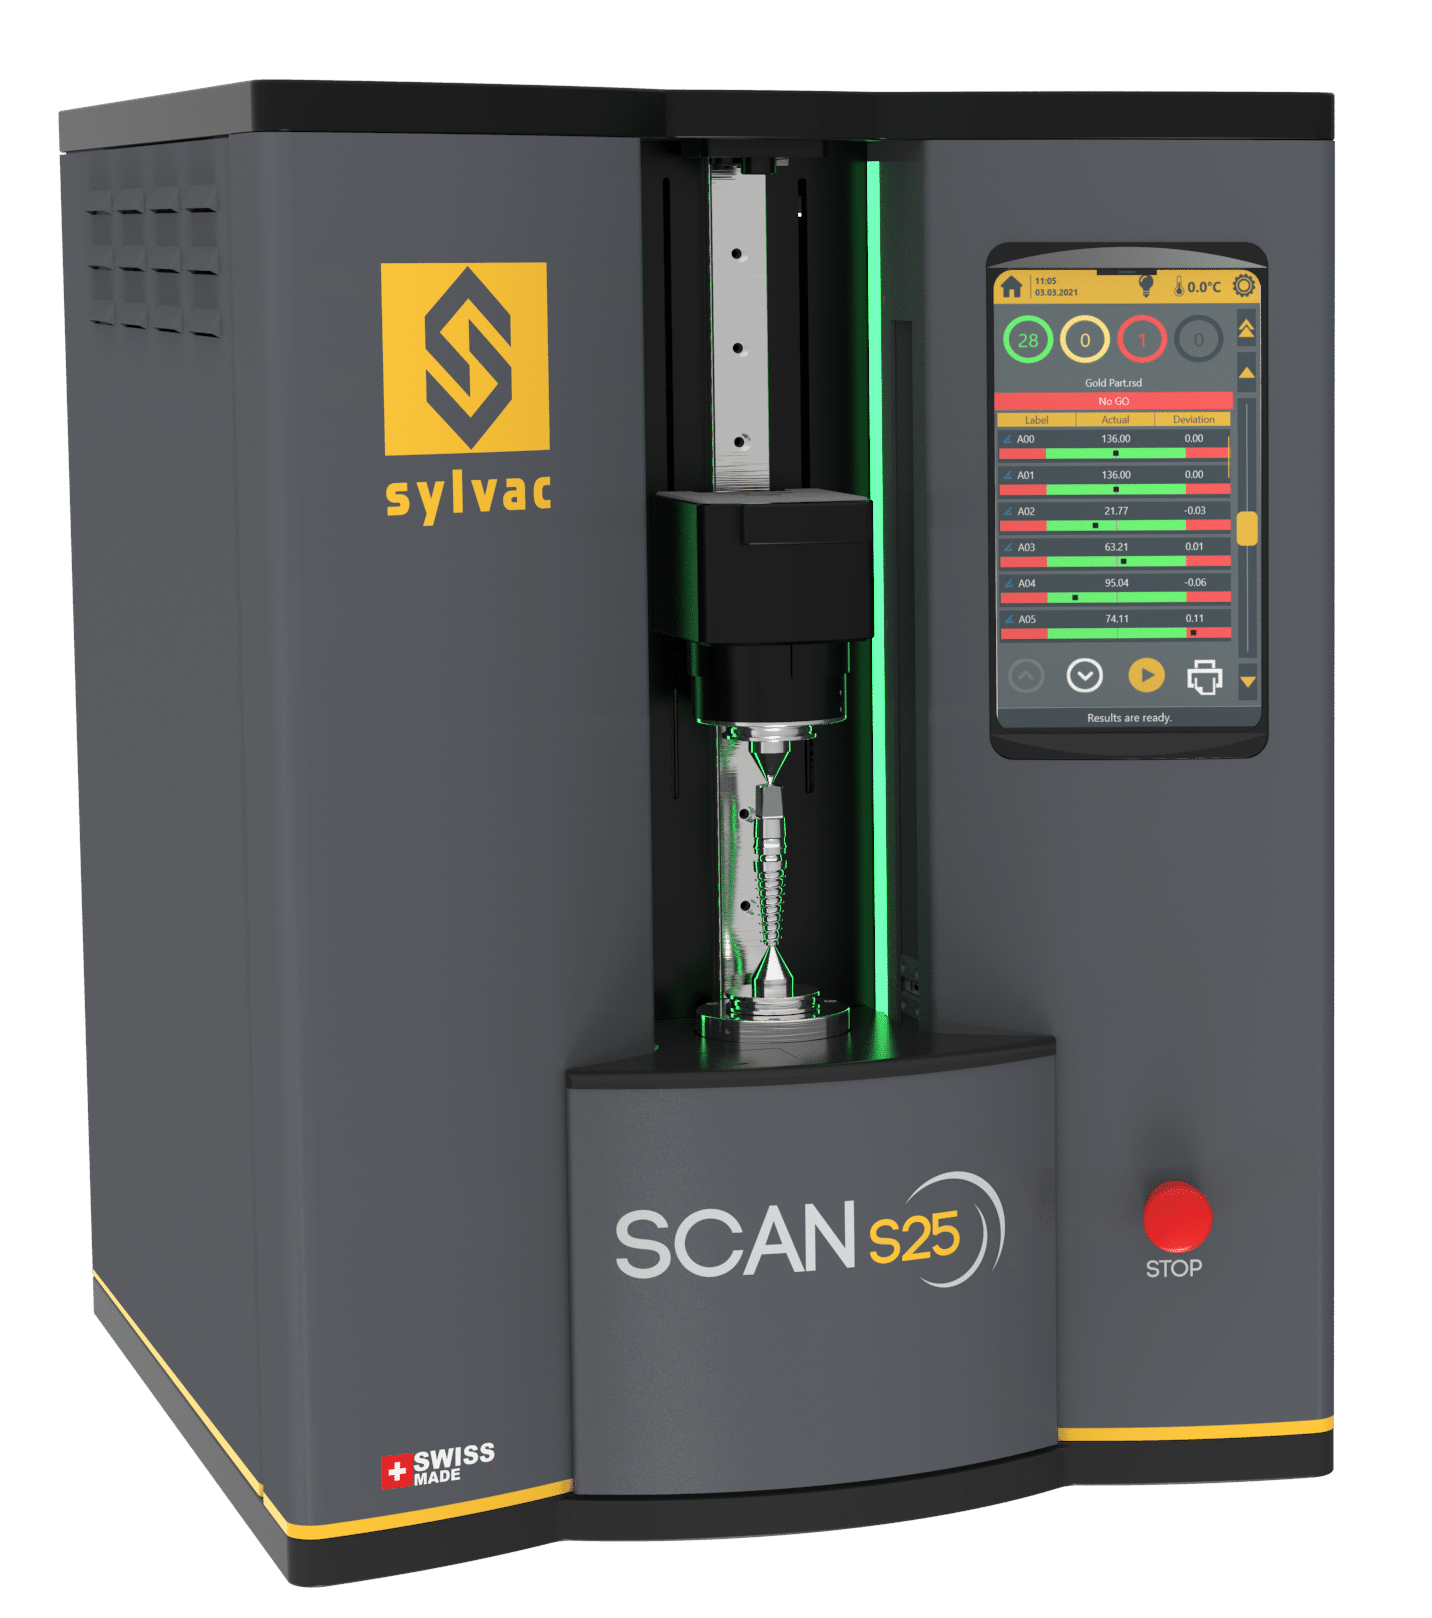
Vertical optical machine for cylindrical parts up to ⌀26mm.

Swiss made

0.1µm

Cable
Features
- Cost Savings at Every Turn: Our non-contact optical machine is designed for the measurement of cylindrical parts, while preserving the integrity of your parts, eliminating the risk of damage during quality control. One of our machine can handle virtually all measurements on cylindrical parts up to 26mm wide and 200mm long. With a complete 2D part scan taking less than 3 seconds, you can reduce inspection time, minimize scrap, and increase overall productivity.
- Intuitive Operation: Enjoy easy operation right at your workplace with the new touch screen control panel. The dynamic LED indicator and intuitive Reflex SCAN+ concept provide real-time feedback on the measured part’s status (GO/NG) and operator messages. No prior programming is required—just a simple touch-button solution.
- Precision and Efficiency: Experience exceptional precision with our no-contact machine’s bi-telecentric optical system and high-resolution CMOS camera. It features a precision sliding headstock with an integrated and protected daily standard, as well as a quick and hassle-free accessory changing system. The machine also includes integrated temperature sensors.
- Seamless Integration: Our offering includes the Reflex SCAN+ software and a PC, empowering you to effortlessly measure a wide range of elements in an intuitive manner. With its ‘Automation Ready’ configuration, the machine seamlessly integrates into your workflow.
Overview
Specifications
Standard Delivery
Accessories
Applications
Tutorials
Documents
| 902-4020 | ||
| EAN | 7640125696134 | |
| Diameter | Length | |
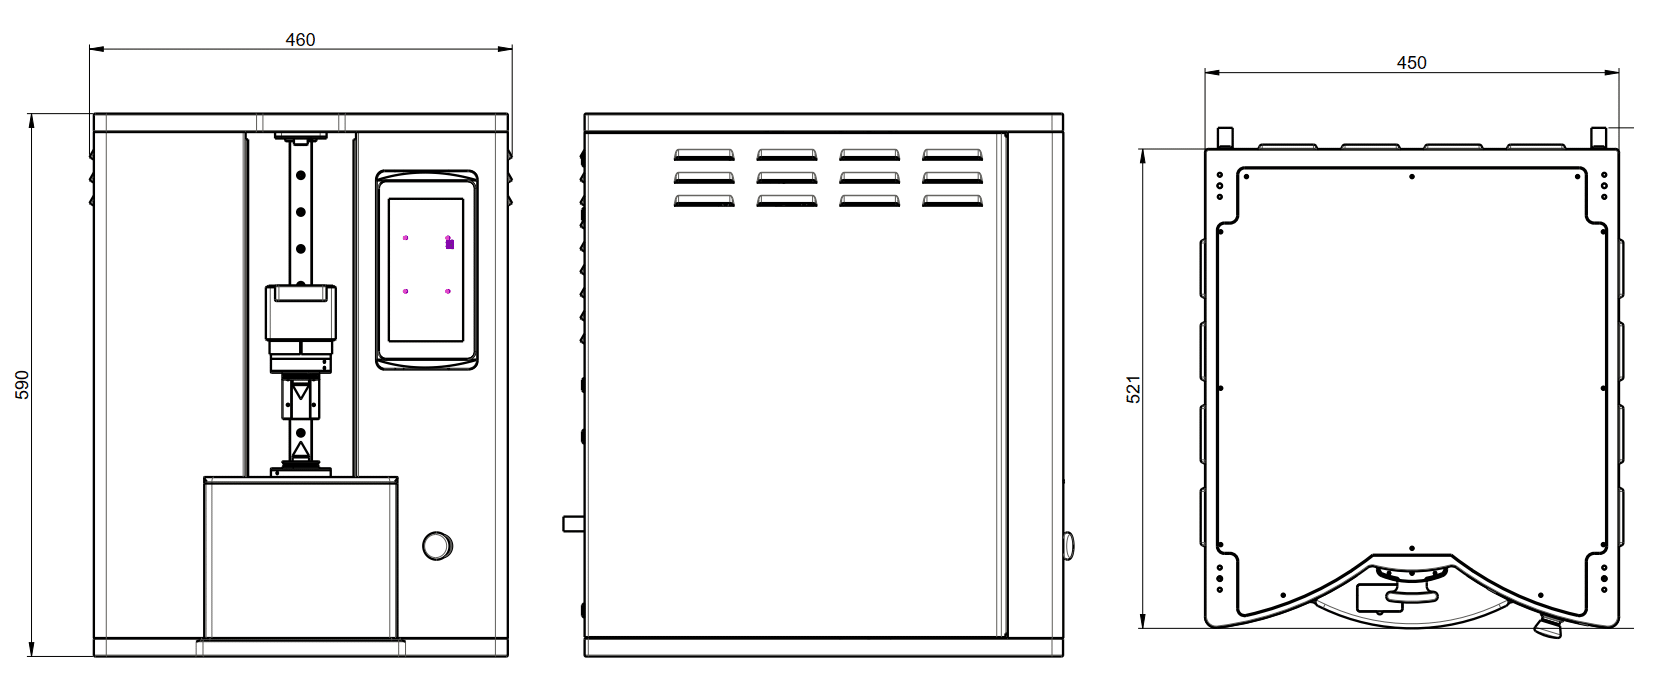
| Measuring range (mm) | 26 | 200 |
| Resolution up to (mm) | 0.0001 | |
| Max. error (µm) | 0.9 +(D[mm]/100) ¹ | 2.5 +(L[mm]/200) ¹ |
| Repeatability 2δ (µm) | 0.5 | 0.8 |
| Holding capacity (mm) | 51 | 200 |
| Tilting for thread measurement | – | |
| Headstock | High precision rotary | |
| Axial move speed (mm/s) | Up to 100 | |
| Max. weight of part (kg) | 3 | |
| Machine’s weight (kg) | 73 | |
¹ 20° C ± 1° C
|
Standard Delivery
|
| Instrument according to technical specifications |
| Computer with screen, keyboard and mouse |
| Windows multilingual operating system |
| Sylvac Reflex SCAN Software + |
| Accessories : 2x 902-6259 ISO / MK2 adapter, 2x 902-6202, 902-6161 & 902-6212 |
| Manual |
-
SYLVAC Scan Range - Full
Discover Sylvac and our Scan Range - the ultimate measurement solution for cylindrical parts
-
Bone screw application - Full
Full movie for the bone screw application on the S25T
-
Bone screw application - Short
Short movie for the bone screw application on the S25T
-
-
- Technical Plan
- 3D Drawing
- Manual
- Certificate
- Brochure
Spécifications

| 902-4020 | ||
| EAN | 7640125696134 | |
| Diameter | Length | |
| Measuring range (mm) | 26 | 200 |
| Resolution up to (mm) | 0.0001 | |
| Max. error (µm) | 0.9 +(D[mm]/100) ¹ | 2.5 +(L[mm]/200) ¹ |
| Repeatability 2δ (µm) | 0.5 | 0.8 |
| Holding capacity (mm) | 51 | 200 |
| Tilting for thread measurement | – | |
| Headstock | High precision rotary | |
| Axial move speed (mm/s) | Up to 100 | |
| Max. weight of part (kg) | 3 | |
| Machine’s weight (kg) | 73 | |
¹ 20° C ± 1° C
Standard Delivery
|
Standard Delivery
|
| Instrument according to technical specifications |
| Computer with screen, keyboard and mouse |
| Windows multilingual operating system |
| Sylvac Reflex SCAN Software + |
| Accessories : 2x 902-6259 ISO / MK2 adapter, 2x 902-6202, 902-6161 & 902-6212 |
| Manual |
Accessories
Tutorials
-
SYLVAC Scan Range - Full
Discover Sylvac and our Scan Range - the ultimate measurement solution for cylindrical parts
-
Bone screw application - Full
Full movie for the bone screw application on the S25T
-
Bone screw application - Short
Short movie for the bone screw application on the S25T
-
-
Documents
- Technical Plan
- 3D Drawing
- Manual
- Certificate
- Brochure

